Running TestShell tests in a project
To run TestShell tests in an HP ALM project:
- Log in to HP ALM and access a project.
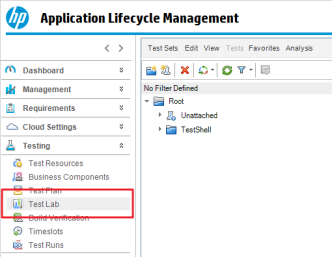
In the left pane, expand Testing and click Test Lab.
- Create a new test set with a meaningful name.
- Select the tests, drag them into the test set.
Click Run and select the Run All Tests Locally check box.
Note: The host on which the tests will run must have the Execution Server and the ALM agent installed.
Run the tests.
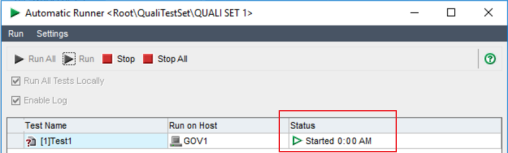
When you run the tests, a CloudShell automation suite called ALM Suite is created with a job called ALM Job, containing the tests. The HP ALM status of each test is displayed in real time and the automation suite’s status is displayed in the Status column (“Pending”, “Started”, or “Completed”).
ALM Status
Description
running
Job is being executed
test_passed
Job passed or completed
test_failed
Job failed
failed
Denotes any other job status
Note: The test timeout period is 60 minutes by default. To change, see the Test Customization Options appendix.
For example:
When the tests complete, click the link at the bottom of the screen to see a PDF report of the test’s results. If Portal works in HTTPS mode and you cannot view the test reports, see Configuring HP ALM to Run in HTTPS Mode.
Repeat these steps to add additional tests to your projects, as appropriate.